This post contains affiliate links. Purchasing through them helps support this website.
Chocolate Cake With Chocolate Icing
Did you know chocolate cake has its own day? January 27th is chocolate cake day in the United States. How cute is it that?
And since this blog is for nerds, I feel it is my duty to inform you that anyone can petition for a special observance day. (The things you learn when you have a blog!)
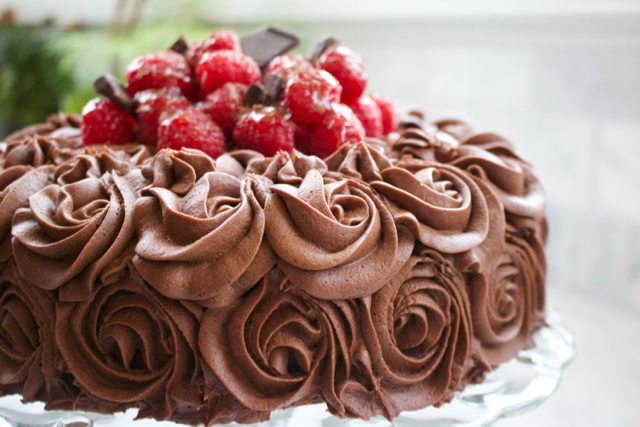
Even if you’re not a chocolate fan or interested in showing off your mad cake skills for Chocolate Cake day, you have to admit: This cake is a work of art. The big surprise? It’s so easy. That picture is my second attempt. Honestly.
First off, you probably already have the cake recipe: it’s on the back of your Hershey’s 100% Cocoa box. Follow the recipe exactly. OK – maybe not exactly – I almost always increase the vanilla. 😉
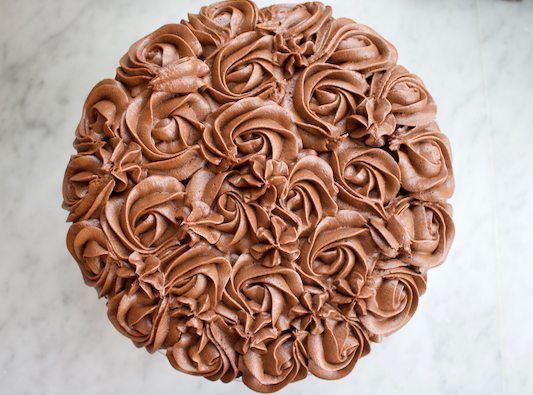
It’s really the icing that makes this cake look next-level. I used a standard chocolate buttercream frosting (recipe below) and a Wilton 2D decorating tip. Here’s where I learned to make those rose circles. You do need a few tools and you’ll find affiliate links at the bottom of the post. (Affiliate means Amazon may compensate BurntPorkChops for your purchase – your cost does not change.)
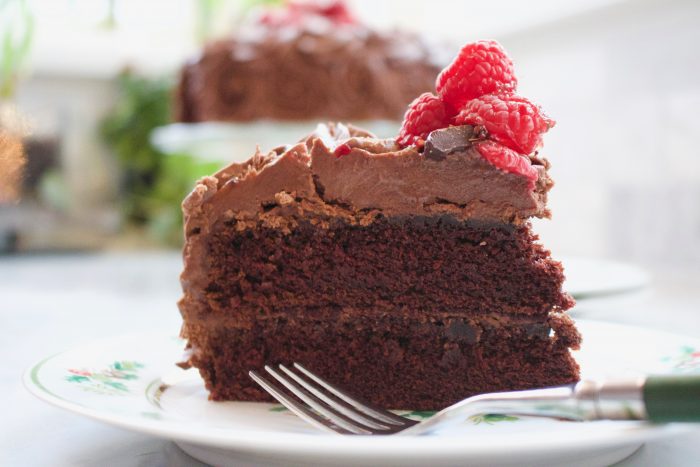
Chocolate Cake With Chocolate Buttercream Icing
Ingredients
For the Chocolate Cake
- 2 c sugar
- 1 - 3/4 c all-purpose flour
- 3/4 c HERSHEY's Cocoa
- 1 - 1/2 tsp baking powder
- 1 - 1/2 tsp baking soda
- 2 eggs
- 1 c milk
- 1/2 c vegetable oil
- 2 tsp vanilla extract or scrapings from 1 - 2 vanilla beans
- 1 c boiling water
For the Chocolate Buttercream Frosting
- 2 c unsalted, room temperature butter Don't try microwaving the butter to get it soft. Depending on how cold your refrigerator is and how hot your kitchen is this coming to room temperature thing could take 2 hours.
- 7 - 8 c powdered sugar, sifted
- 1 c cocoa powder, sifted
- 3/4 tsp salt
- 3 - 4 tsp vanilla extract or scrapings from 1 - 2 vanilla beans
- 4 - 6 T milk, heavy cream, or half and half
Instructions
Chocolate Cake
- Heat oven to 350.
- Grease and flour two 9-inch round cake pans. Then put a piece of round parchment paper over the greased, floured bottom and spray the top of the parchment paper with cooking spray. (The parchment paper won't stick to the bottom of the cake pan when you invert the pan to remove the cake and the paper is easily pulled off the cake.)
- Combine the 2 cups sugar, 1 3/4 c flour, 3/4 cups cocoa, 1 1/2 tsp baking powder, and 1 1/2 tsp baking soda in a large mixing bowl or the bowl of your stand mixer.
- Add the 2 eggs, 1 cup milk, 1/2 cup oil, and 2 tsp. vanilla extract and beat on medium for 2 minutes.
- Stir in the 1 cup boiling water. The batter will be very thin.
- Pour half of the batter into each prepared cake pan.
- Bake 30 - 35 minutes or until a toothpick comes out clean.
- Cool 10 minutes then remove the cakes onto wire racks.
- Cool completely on the wire racks before frosting the cakes. This will take more than an hour. Don't put frosting on a warm cake. The cake will crumble and break and the frosting will be dotted with bits of cake. You will never get the icing smooth. Also, a warm cake will soften/melt the frosting. You can speed the cooling process slightly by putting the cake in the refrigerator.
Chocolate Buttercream Frosting
- Cream the 2 cups butter for 2 - 5 minutes in a mixer until it is fluffy, smooth, lighter in color and bigger in volume.
- Turn off the mixer, and add the 7 - 8 cups sifted powdered sugar and 1 cup sifted cocoa in 3 increments. Start the mixer on slow speed after each addition so the powdered sugar and cocoa don't fly all over the place. Add the salt all at once.
- The icing will get thicker and thicker as more powdered sugar and cocoa are mixed into the butter. Start adding milk, a few T at a time, until you get a consistency you like.
- Make the final adjustment to the icing. If it's too thick to spread easily, thin it with milk, 1 T at a time. If it is too thin, add more powdered sugar
To Frost The Cake
- Attach the 2D decorating tip to your pastry bag and fill it with frosting. I put a twist-tie right above the 2D tip to "close" the bag while I'm filling it and I use an empty pitcher to "hold" the bag. You will still get sticky hands.
- Place 4 strips of parchment paper or tinfoil around the edges of a cake stand. These strips of paper protect the cake stand from icing messes and will be removed after the cake is frosted. They should be 2 - 4 inches wide. You want them thick enough to stay put under the cake, but skinny enough to be easily pulled out when you are done frosting the cake.
- Place one cake round in the middle of the stand and put a layer of icing on top of it. This layer will show when you cut the cake. It can be as thin or thick as you like.
- Place the second cake on top of the first one. Put a thin layer of icing on the sides and top. This is called a crumb coat. Think of it as a coat of primer.
- Starting at the bottom cake layer, place the center of the decorating tip about 1 inch up from the bottom of the cake. This is the center of the rose. Draw a circle around the center and when you get to the top of the circle, lift off the cake. That's one rose. Move to the right about one inch. That will be the center of the second rose. Repeat until you have a row of roses.
- For the second layer of circles, center the tip mid-way between the top "shoulder" of two roses and start making another row of roses. You might have a tall enough cake to make an entire second row of roses, or the second row of roses might be half on the side of the cake and half on the top of the cake. This is how I did my cake.
- Repeat the roses on the top of the cake until you run out of space.
- Fill in spaces between circles with just a single squeeze of the bag.
- Leftover buttercream icing lasts 3 - 6 months in the refrigerator or freezer.
Tools and Skills – Don’t Let The Fancy Look Fool You
Check out these video tutorials for how to crumb coat a cake, how to make rose swirls, and how to make buttercream icing.
I hope you give this chocolate cake a try. It might look intimidating, but it’s really easy. HERSHEY’s knows what it’s doing recipe-wise, so the chocolate cake tastes great, buttercream is really just creamed butter and a bunch of powdered sugar, and the “roses” are just circles. You can do this!
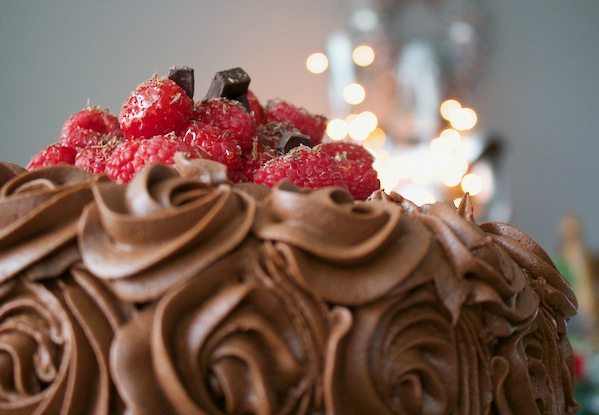

Grew up eating this cake. I will have to try it again in it’s fancy new coat of frosting!
One of the ASC nurses brought it and I was swooning over her cake – she was like “Josie, it’s on the back of the HERSHEY’s box!” Ha Ha! Who knew? The icing is easy, Kathy – just squeeze that pastry bag and make a circle!!
Took the cake (bald) to Christmas Dinner and had my niece do the flowers … she did great! You can do it!